Video Presentation Guide for Students
Students can use Zoom or Canvas Studio for recording their video presentations. This guide will explain how to record using webcam and screen sharing option on Zoom and screen capture and webcam capture option on Canvas Studio in details. Below are the contents of this guide:
- Zoom video recording:
- Webcam recording using Canvas Studio:
- Record a Canvas Studio screen capture video
1. Zoom video recording:
- Please make sure that settings for Zoom local recording in enabled.
Login to https://sjsu.zoom.us/. Click on “Sign in”. Sign in using your SJSU credential: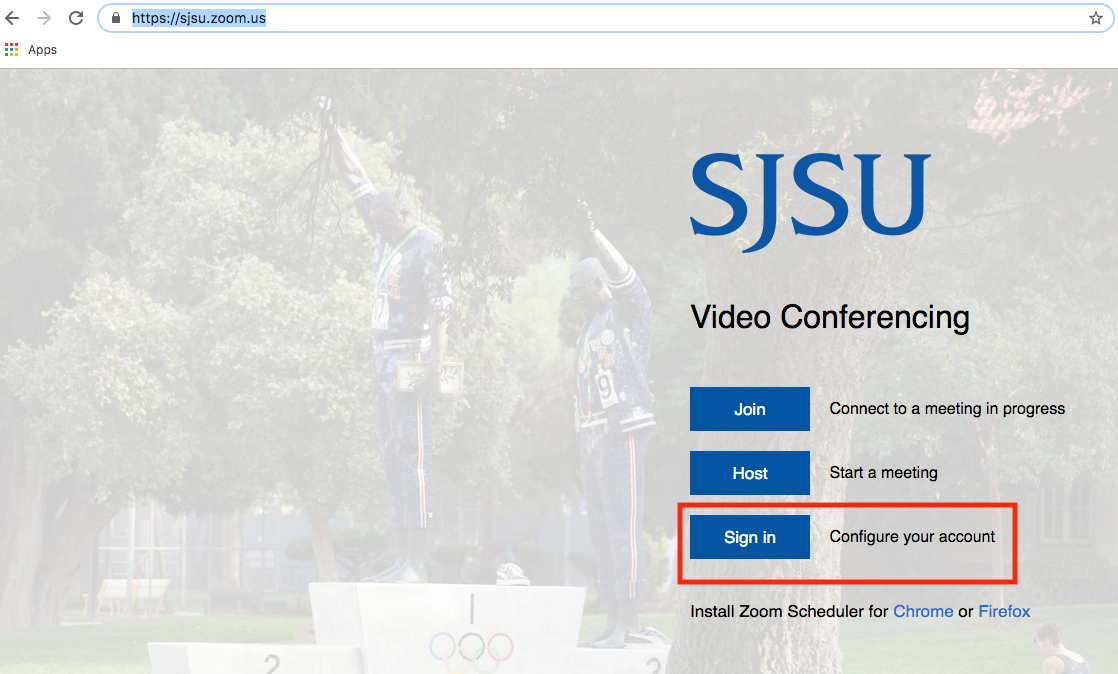
- Click on Settings option in the left navigation menu and then click on Recording tab:
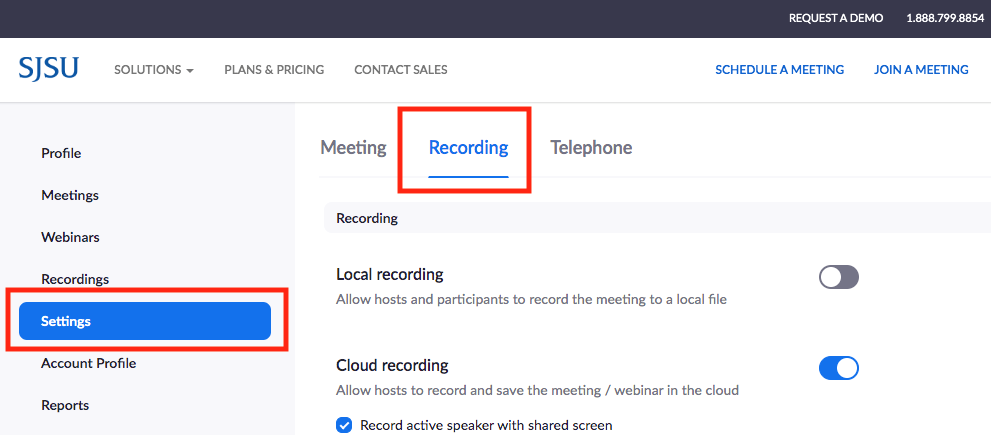
- In the Recording tab, navigate to the Local Recording option and verify that the setting
is enabled.
If the setting is disabled, click the toggle to enable it. If a verification dialog displays, choose Turn On to verify the change.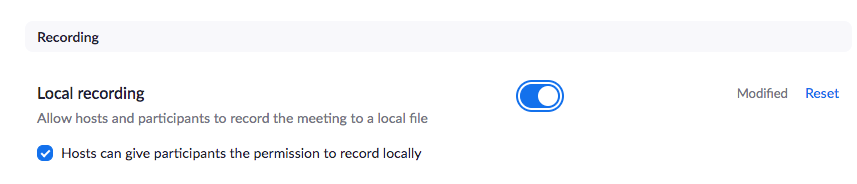
- Now you can click on “Host Meeting” with video on option:

- It will then ask you to either download Zoom app or if you have zoom already installed
to open zoom.us.
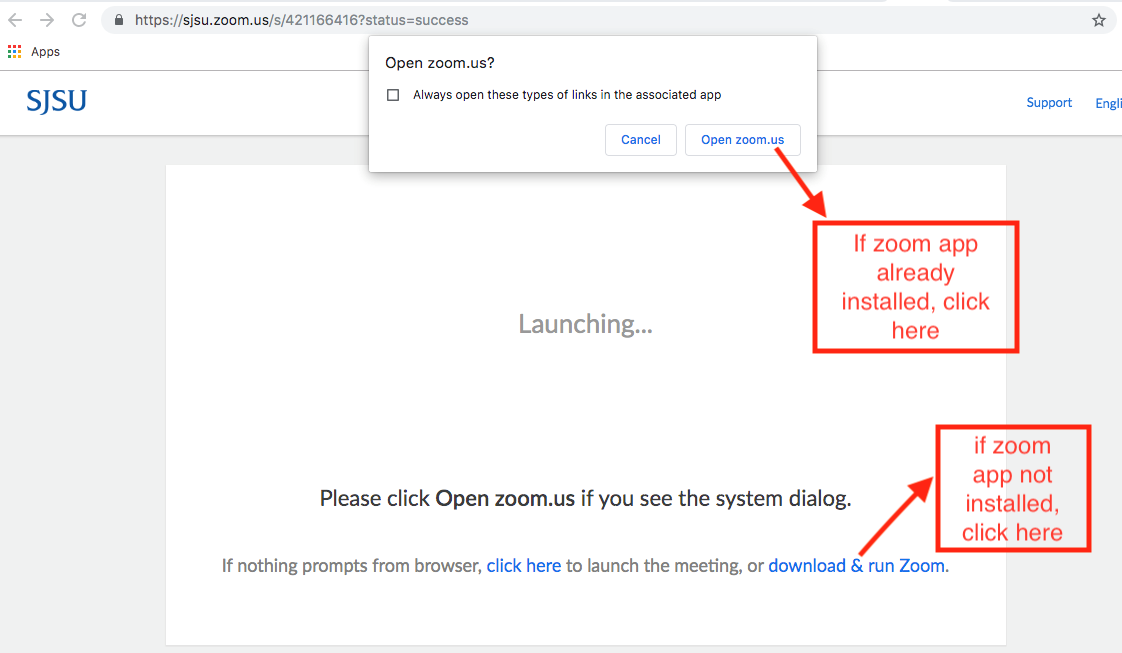
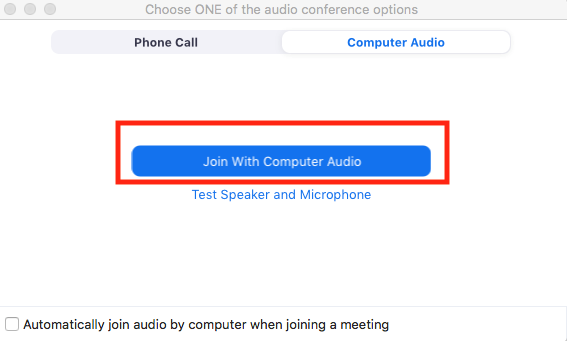
- The zoom app will be opened with the meeting. It will then ask you to for enabling
the audio. Select the option “Join with computer audio”:
- Please make sure that you are ready to give your video presentation. Make sure that
the lighting is good and your video is clear. Also, if you need to show some PowerPoint
slides or any other content from your system during the presentation. Please open
them on your system so that they can be shown using the screen sharing option later.
You can also add virtual background to your video:
https://support.zoom.us/hc/en-us/articles/210707503-Virtual-Background - When you are ready to start your presentation, click the option to Record. Select
Record on this Computer option.

- Hosts will see the following recording indicator in the top-left corner while recording
is active.

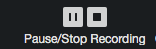
- Once the recording is started you will get the option to pause and stop the recording.
You can pause the video to resume later. You can also stop the recording and start
a new recording again. At the end of the meeting all the recordings will be saved
locally to your system.
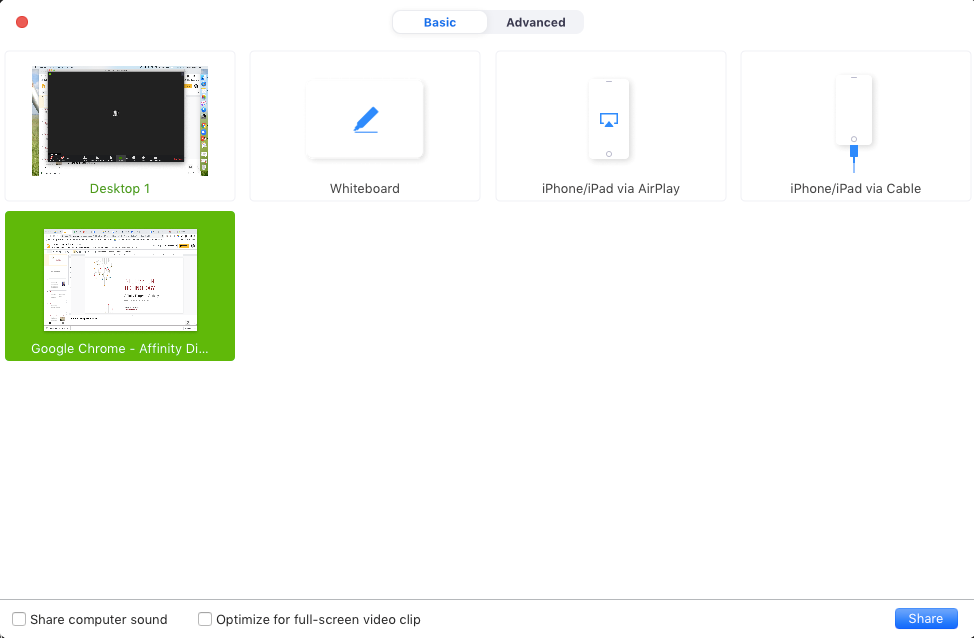
- Zoom screen share recording: If you want to record share the content on your screen, then click Share on the Zoom
Menu Bar.

- Select your content that you want to share. If your content that you want to share
is not present in the window below, then select Desktop and click on share. If your
presentation includes narration, sound, or video, then select the Share computer sound
option at the bottom.
- Once you are done with sharing your screen, you can click on “Stop share” button.

- You can continue with your presentation. Once you are done with your presentation
click on “End Meeting” option.

- Once the meeting is ended, recording is generated and saved locally to your system.
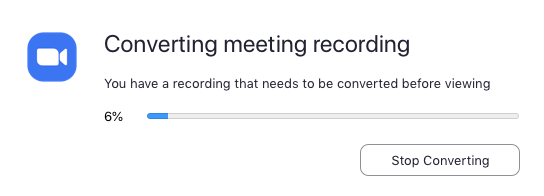
- Once the conversion is completed, you will get the option to save the recording:

Your recording would be saved in mp4 format in the folder that you selected in previous step.
2. Webcam recording using Canvas Studio:
- Sign into Canvas using your SJSU credential. Click on Studio option in the left navigation
menu:

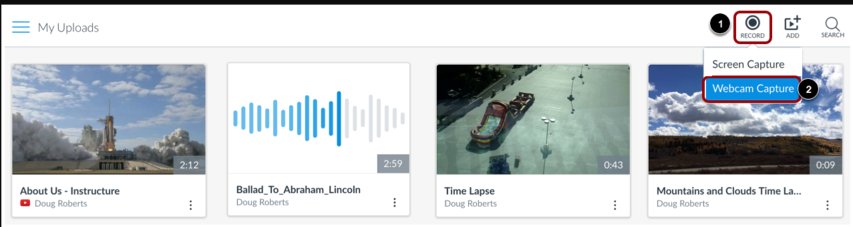
- To record a video, click the Record button [1], then click the Webcam Capture link [2].
- Allow Access
To give access to your computer's microphone and camera, click the Allow button.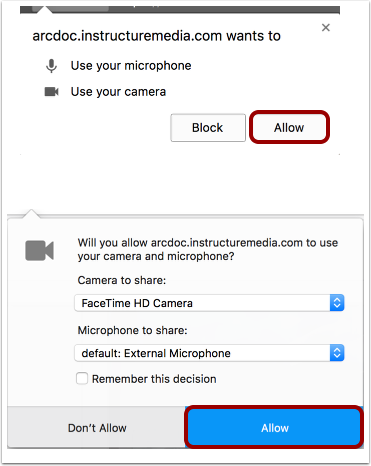
- Start Recording
Click the Start Recording button.
- Finish Recording
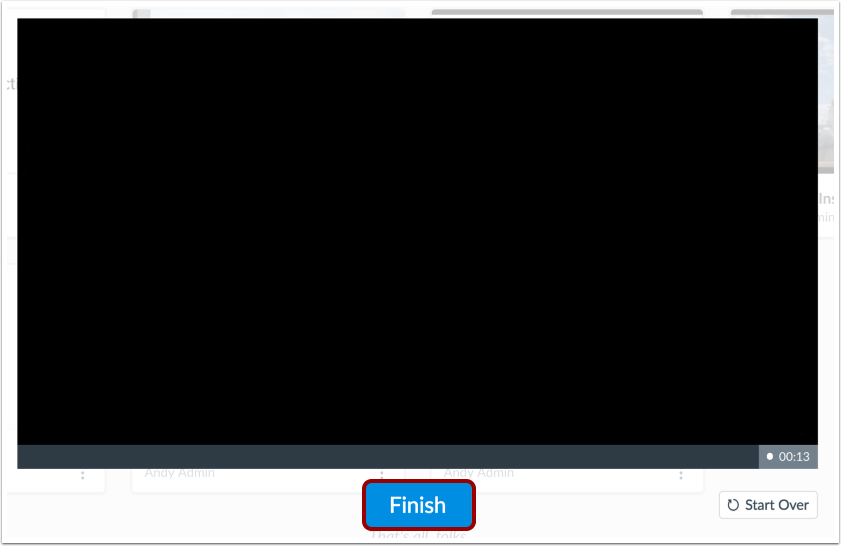 When your video recording is done, click the Finish button.
 - Save Recording
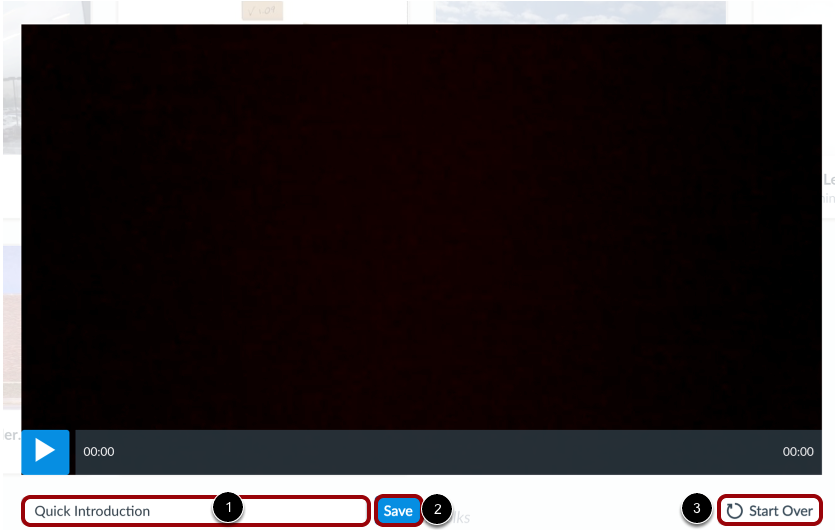
- View the recording. Enter a title in the title field [1] and click the Save button [2]. If you want to record again, click the Start Over button [3].
- View Recording
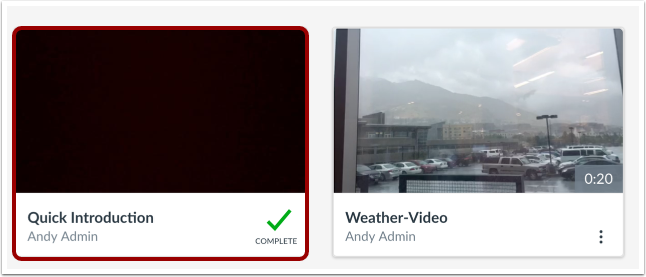
In the My Uploads page, view your video recording. Once the recording is processed, you can manage all controls and settings.
3. Record a Canvas Studio screen capture video
- Record Screen Capture
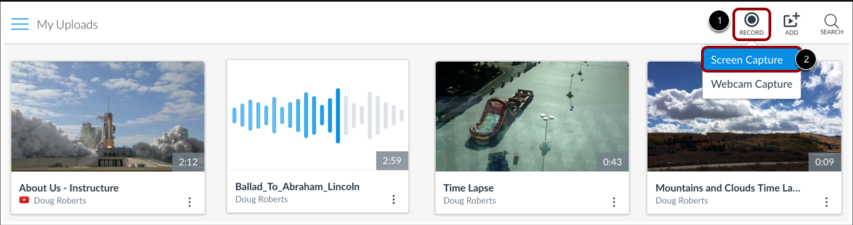 To record a screen capture, click the Record button [1] and then click the Screen Capture link [2].
 - Download and Install Screen Capture Application
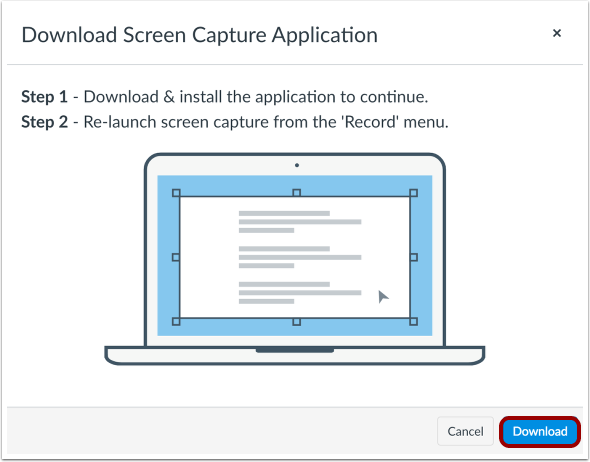
To record the screen, you will need to download and install the screen capture application. To download the application, click the Download button.
Note: If you have downloaded a different version of the screen capture application, uninstall the previous version and download the recent version from Studio. - Record Screen Capture
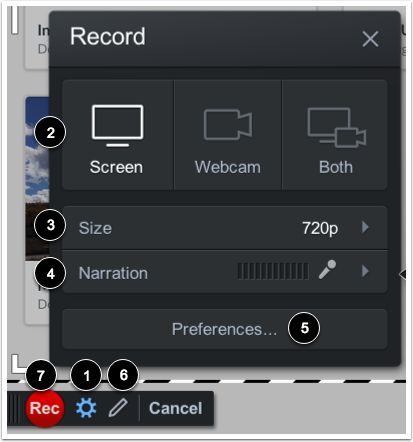
To manage recording settings, click the Settings icon [1]. You can also choose the type of recording [2], screen size [3], and narration volume [4].
To change your recording preferences, click the Preferences button [5]. The preferences you can change include the pause hotkey, webcam big hotkey, mark timeline hotkey, count down, control bar, webcam preview, fullscreen rec controls, reposition cursor on resume, and keyboard controls while paused.
To use the draw and zoom tools, click the pen icon [6]. The draw and zoom tools include lines, arrows, boxes, highlights, speech bubbles, and colors, etc.
To start the screen capture, click the Rec button [7]. - Pause Screen Capture

When the screen capture is done, click the Pause button. - Finish Screen Capture

To upload the screen capture, click the Done button [1].To preview the screen capture, click the Play button [2]. To delete the screen capture and start over, click the Delete button [3]. - Upload Screen Capture
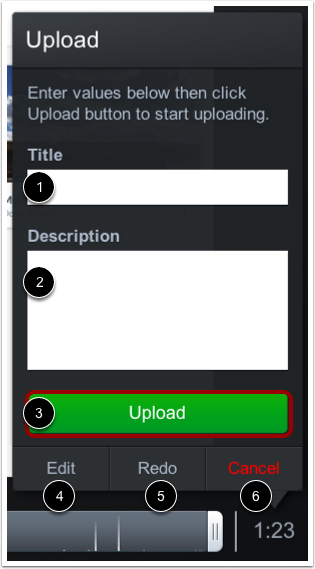
To upload the screen capture, enter a title [1], description [2], and then click the Upload button [3]. You can also edit the capture [4], redo the capture [5], or cancel the capture [6]. - Return to Uploads
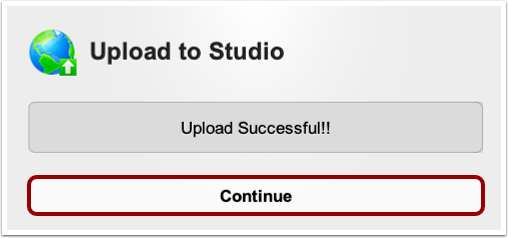
Click the Continue button. - View Screen Capture
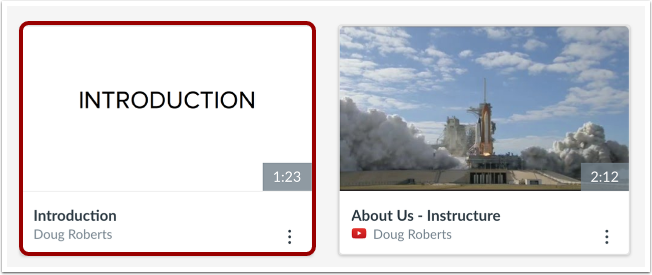
In the My Uploads page, view your screen capture. Once the screen capture is processed, you can manage all controls and settings.